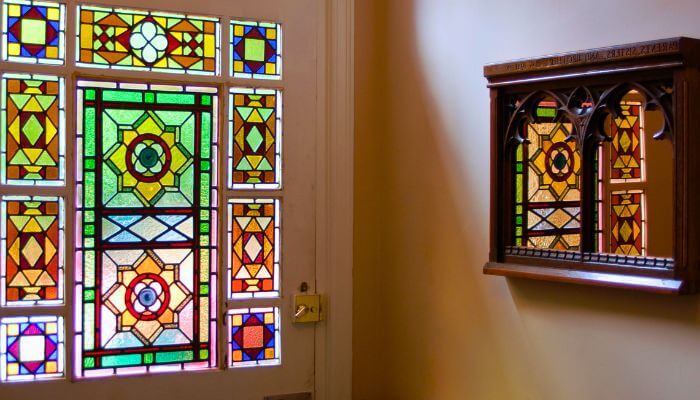
Stained glass is an art form that has been around for centuries, Augsburg Cathedral is home to the oldest complete stained glass window. The intricate designs and vibrant colors of stained glass windows can add beauty and character to any space. However, stained glass windows can also become damaged over time. Whether it’s due to age, weather, or accidents, stained glass windows may need repairs from time to time. Here are some tips on repairing stained glass.
Identify the Damage
The first step in repairing stained glass is to identify the damage. Take a close look at the window to determine the extent of the damage. Look for cracks, chips, missing pieces, and areas where the glass has become detached from the frame. It’s important to identify all the damage so you can determine the best approach to repairing it.
Gather the Tools
Before you begin repairing the stained glass, gather all the necessary tools. You’ll need a glass cutter, pliers, soldering iron, solder, and a heat gun. You’ll also need safety gear, including gloves and eye protection.
Remove the Damaged Glass
Once you’ve identified the damage, you’ll need to remove the damaged glass. Use the glass cutter to score around the damaged piece of glass. Then, use the pliers to gently break the glass along the scored line. Be sure to wear gloves to protect your hands from the sharp edges.
Clean the Area
After removing the damaged glass, clean the area where the new glass will be inserted. Use a soft brush to remove any debris or old adhesive from the frame. Be sure to clean the area thoroughly so the new glass will adhere properly.
Cut the Replacement Glass
Using the measurements of the damaged glass, cut the replacement glass. Be sure to use the correct type of glass for the repair. If the stained glass window is a historic or antique piece, it’s important to use glass that matches the original glass as closely as possible.
Insert the Replacement Glass
Once you’ve cut the replacement glass, insert it into the frame. Apply a small amount of adhesive around the edges of the glass to hold it in place. Use a heat gun to dry the adhesive quickly.
Solder the Edges
After the adhesive has dried, use the soldering iron and solder to secure the replacement glass. Apply a small amount of flux to the edges of the glass where it meets the frame. Then, use the soldering iron to melt the solder onto the edges. Be sure to use a steady hand and work slowly to avoid damaging the new glass.
Clean and Polish the Window
Once the soldering is complete, use a soft cloth to clean and polish the stained glass window. Be sure to remove any excess flux or solder from the window. A clean and polished window will look new and vibrant.
Maintain the Window
After repairing the stained glass, it’s important to maintain it. Regularly clean the window with a soft cloth and mild detergent. Avoid using abrasive cleaners or materials that could scratch or damage the glass. Also, inspect the window periodically for any signs of damage or wear. Repairing damage early on can help prevent further damage and prolong the life of the stained glass window.
Having difficulty repairing your stained glass window? Reach out to us!
Final Thoughts
Repairing stained glass requires patience, attention to detail, and the right tools. Identifying the damage, gathering the tools, removing the damaged glass, cleaning the area, cutting the replacement glass, inserting the replacement glass, soldering the edges, and cleaning and polishing the window are all important steps in the repair process. Maintaining the window after the repair is also important to prolong its life. With these tips, you can repair stained glass windows and bring new life to this beautiful art form.

Recent Comments